Build App
📮 The final build app will be sent to your email a few hours after submitting the build (normally 4-5 hours)
After customize the Design and configure the Features of your App. Now let's build the app.
1. Build Android app
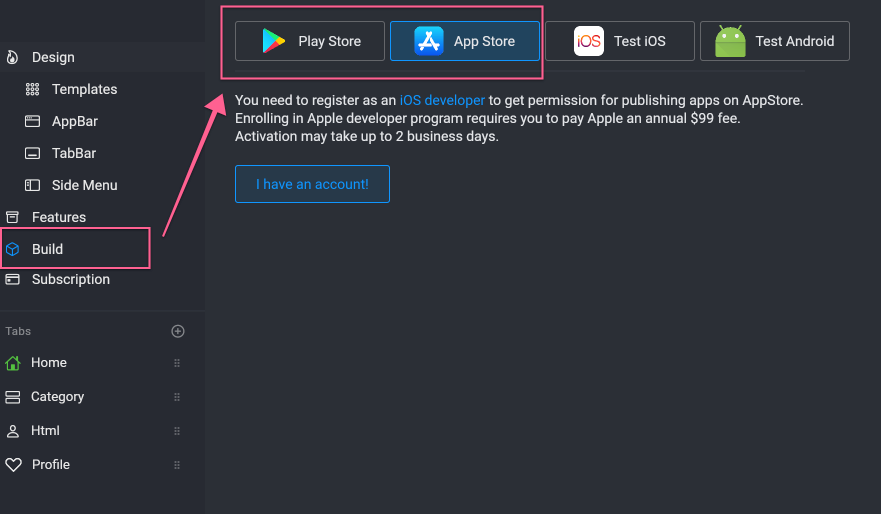
On the left menu, select Build > Play Store > I have an account.
There are 4 steps. This guide will focus to step 3:
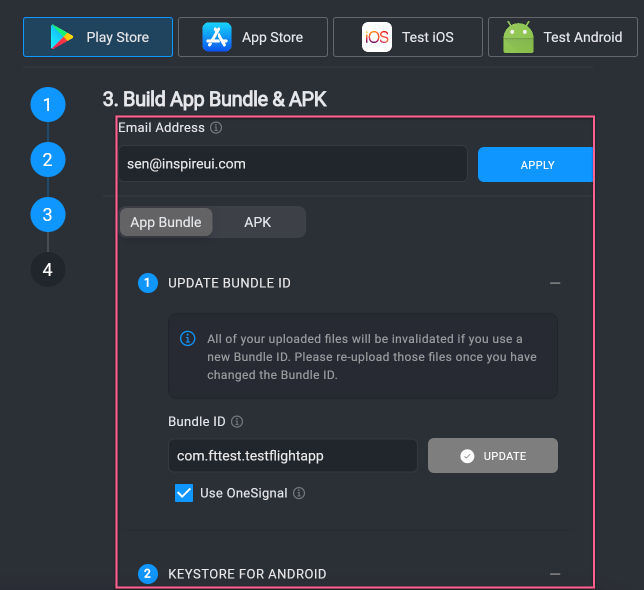
- Enter your email and click
APPLYto receive the result of the build. - Select
App BundleorAPK
Step 1: UPDATE BUNDLE ID
- Enter your
Bundle IDand clickUPDATE(this guide to create the app Bundle ID). - Check the
Use OneSignalcheckbox if you would like to push notifications via OneSignal.
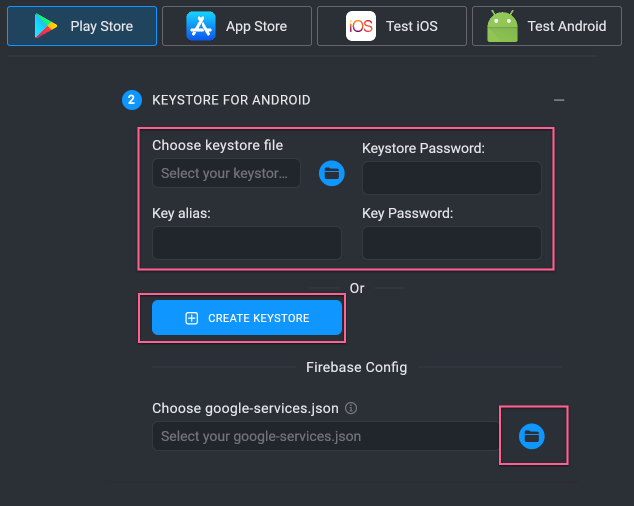
Step 2: KEYSTORE FOR ANDROID
- Enter your
Keystore's information if you already had them. (this guide to create Keystore manually) - Or you can create Keystore automatically by selecting
CREATE KEYSTOREbutton, then:- Input a string to the
key passwordandstore passwordtextboxes (they must be the same, at least 6 characters) - Select
CREATEbutton.
- Input a string to the
- Input your Google services file by select the folder icon (search "2. Android" in this guide to download your
google-services.json__)
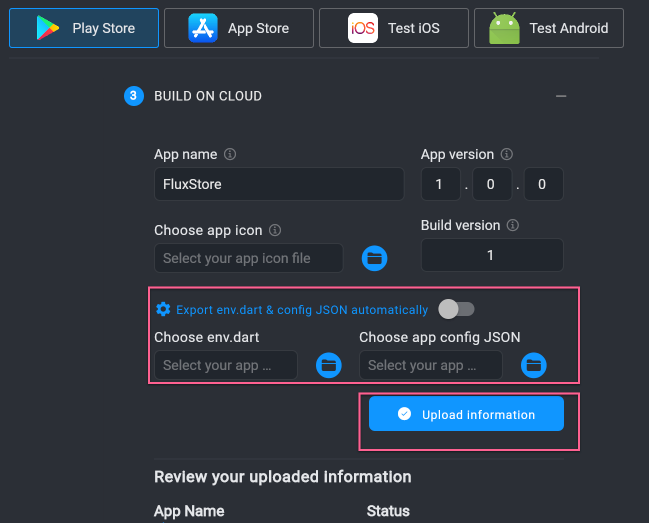
Step 3: BUILD ON CLOUD
- Input app information as below:
- App name (at least 2 characters)
- App icon
- App version (format of x.x.x)
- Build version (greater than 1)
- Please enable
Export env.dart & config JSON automaticallyoption to build your app with your current configuration on the tool. Or if you want to upload the configuration from your local, refer to theenv.dartandconfig_en.jsonfiles. - Select
Upload informationbutton.
- Then click
Submit Buildbutton. The result and APK, AAB files will be sent to your email after 15-30 minutes.
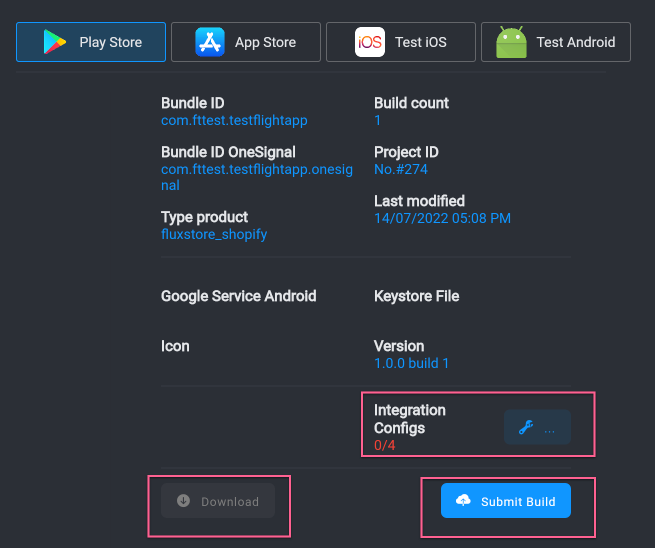
Note: You can also click Integration Configs button to see if all the required configurations are done or not.
Or click Download to download all information of your app, e.g. Keystore file, certification files…
Finish!
2. Build iOS app
On the left menu, select Build > App Store > I have an account.
There are 2 steps. This guide will focus to step 2:
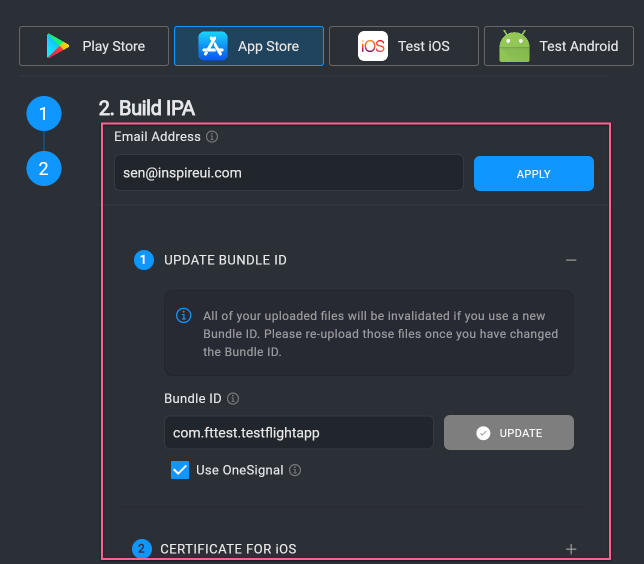
- Enter your email and click
APPLYto receive the result of the build.
Step 1: UPDATE BUNDLE ID
- Enter your
Bundle IDand clickUPDATE(this guide to create the app Bundle ID). - Check the
Use OneSignalcheckbox if you would like to push notifications via OneSignal.
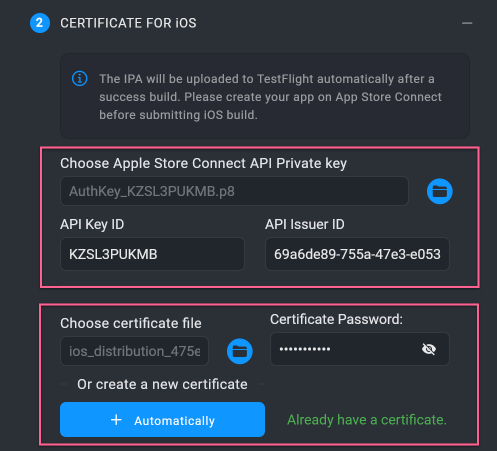
Step 2: CERTIFICATE FOR iOS
Input information of Apple Store Connect, Certificate, Provisioning, Google service files as below:
- Login to to your Apple Account by owner/holder role
- Go to: https://appstoreconnect.apple.com/access/api
- Add new Connect API Key
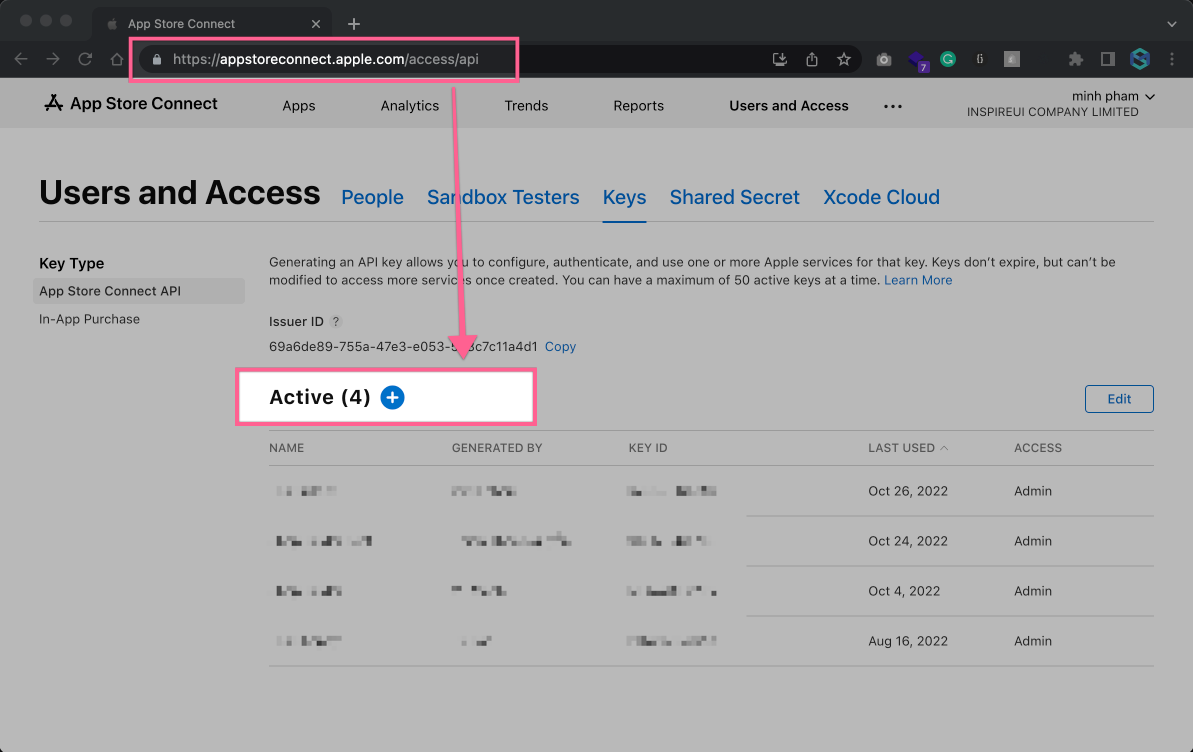
- Upload the Key to Step 2
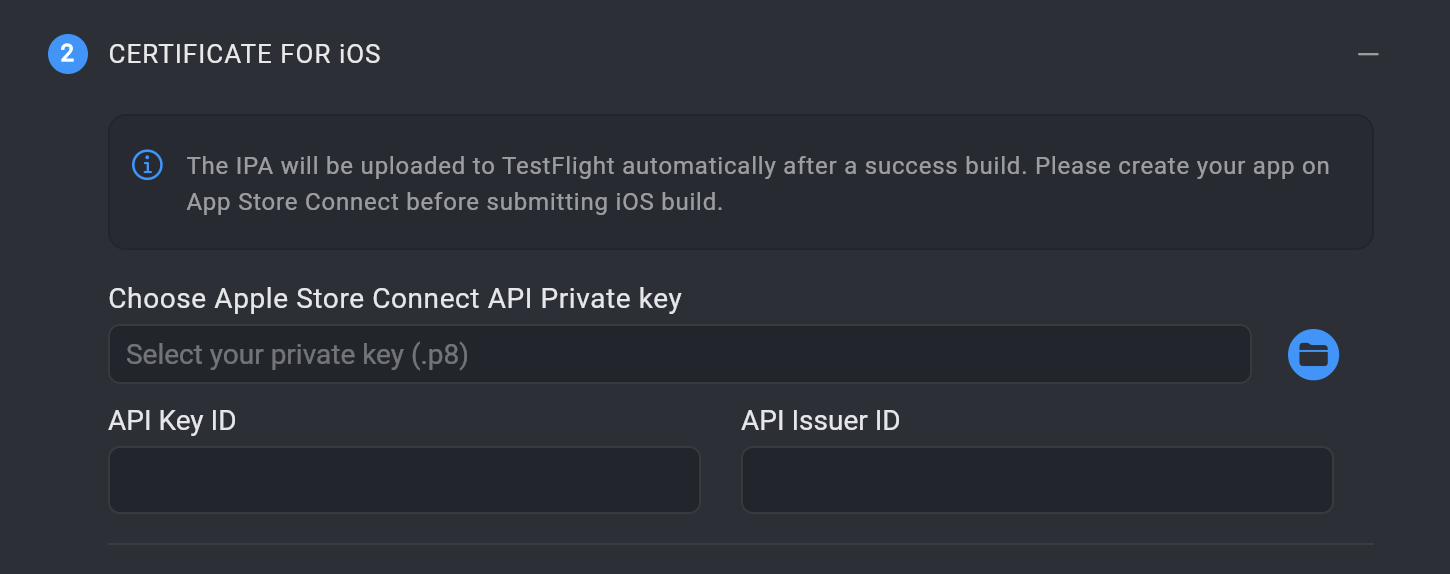
Input your certificate file and its password. If you do not have it, select
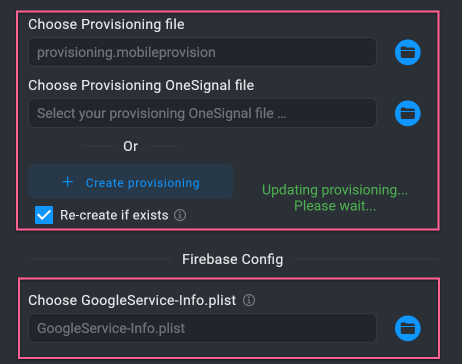
Automaticallyto create a new one.Input your Provisioning file or click
Make sure to selectCreate provisioningbutton to create it automatically. (To create Provisioning manually, please follow this video guide:Re-create if existsto delete the old provisioning file.Input the
GoogleService-Info.plistfile by selecting the folder icon (search "1. iOS" in this guide to download your GoogleService-Info.plist file)If getting an issue when creating a certificate, because it already exceeded the number of certificates with Distribution and iOS Distribution permissions, please go to Apple Developer to Revoke one as these steps:
1. Login with your dev account
2. Click Certificates, Identifiers & Profiles
3. Select an old Distribution or iOS Distribution certificate
4. Select Revoke - now you can continue toAutomaticallyto create a new certificate.
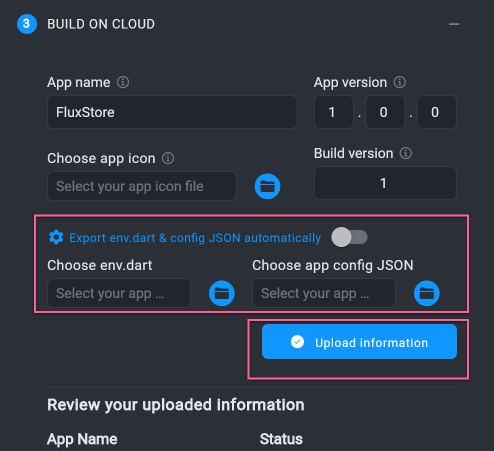
Step 2: BUILD ON CLOUD
- Input app information as below:
- App name (at least 2 characters)
- App icon
- App version (format of x.x.x)
- Build version (Remember increasing this number of build versions whenever you build)
- Please enable
Export env.dart & config JSON automaticallyoption to build your app with your current configuration on the tool. Or if you want to upload the configuration from your local, refer to theenv.dartandconfig_en.jsonfiles. - Select
Upload informationbutton.
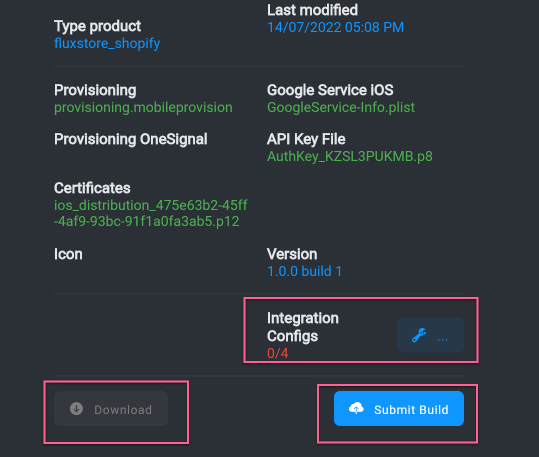
- Then click
Submit Buildbutton. If building the IPA file successfully, it will be uploaded to TestFlight. The result will be sent to your email after 1-2 hours (then wait 30 minutes for TestFlight approval).
Note: You could also click Integration Configs button to see if all the required configurations are done or not. Or click Download to download all information of your app, e.g. Certificate, Provisioning files…
Finish!
3. View your iOS app
After receiving the email that notifies you have built the iOS app successfully, follow the steps below to test your iOS app on your smartphone:
Go to App Store Connect, then sign in with your Apple ID.
Select
My Apps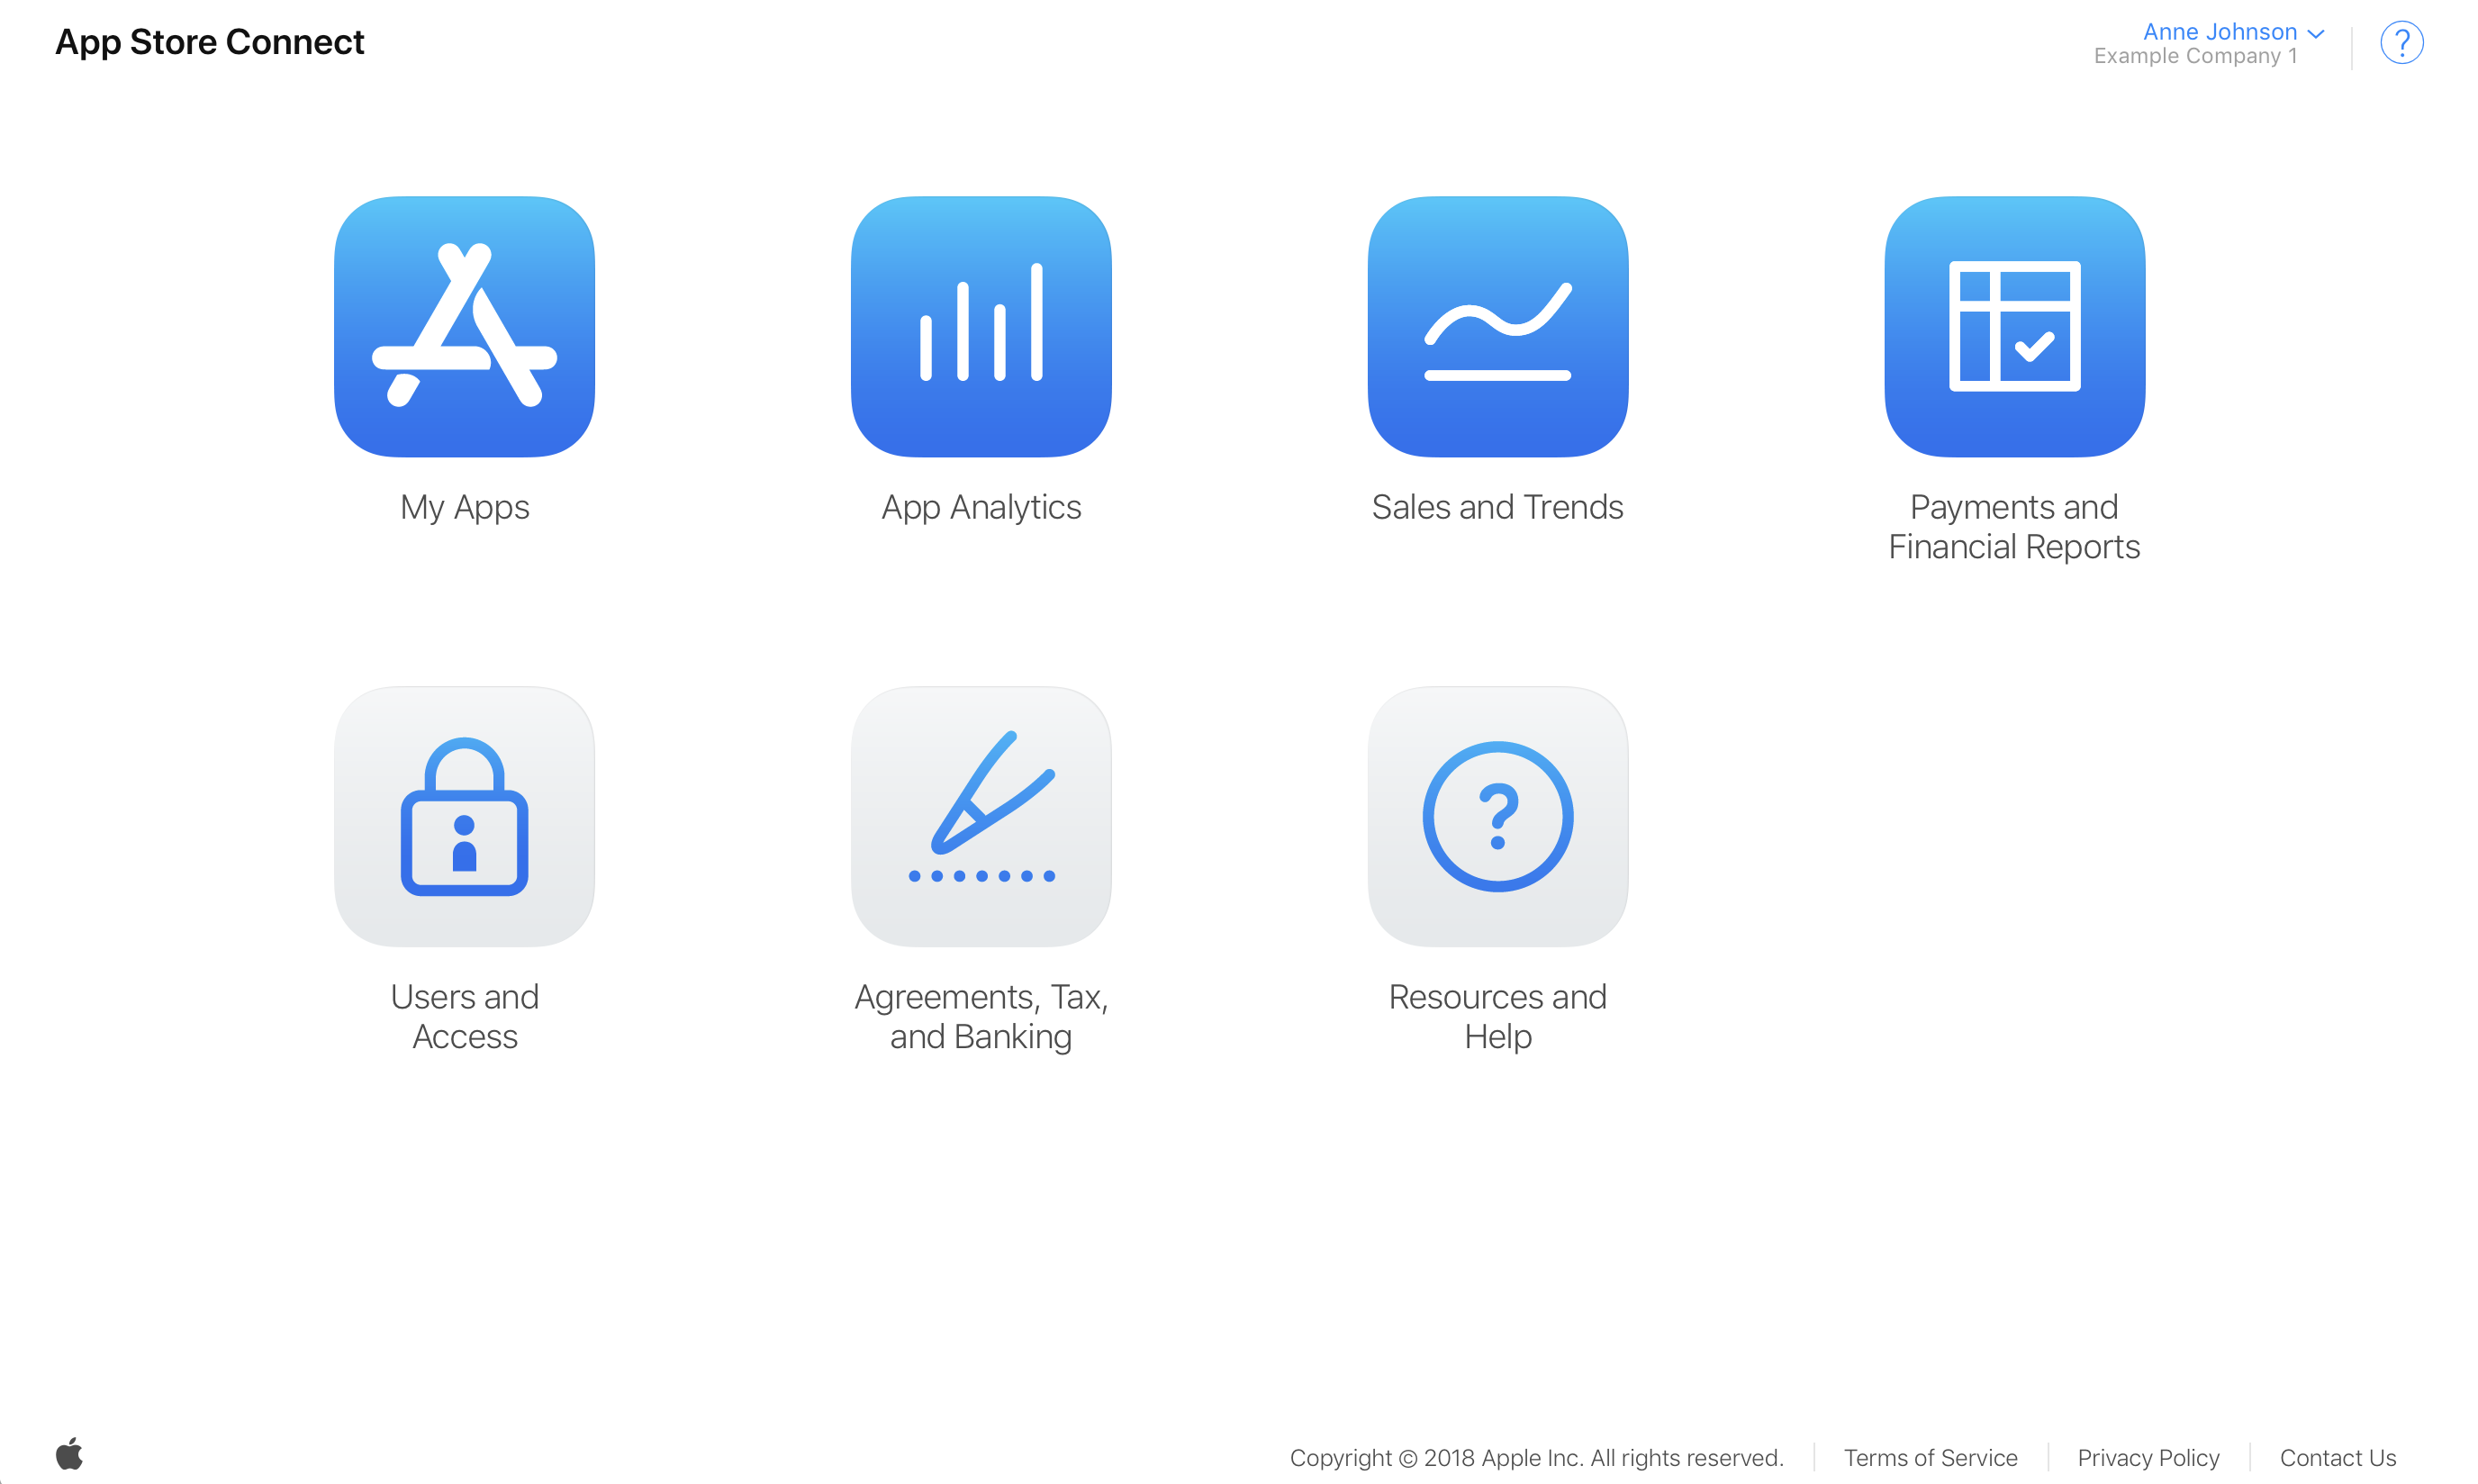
Select your app, then choose
TestFlight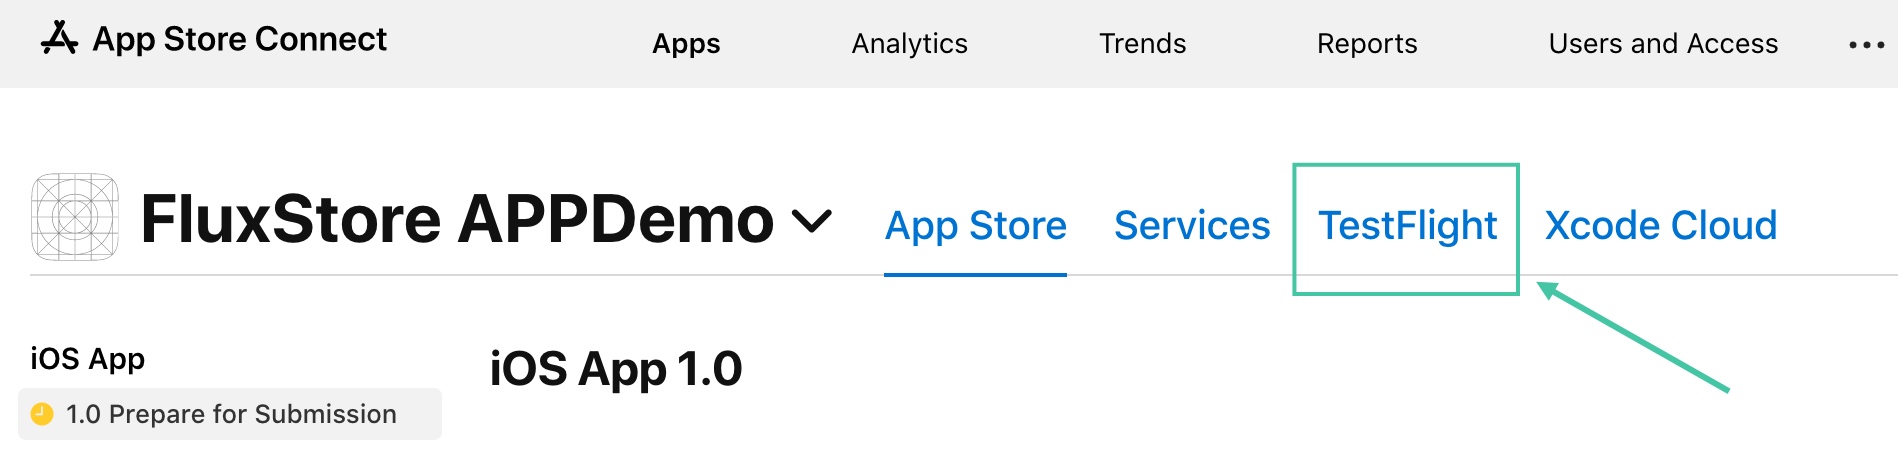
Now you can check the App Version and the Build Version to view the correct one have built:
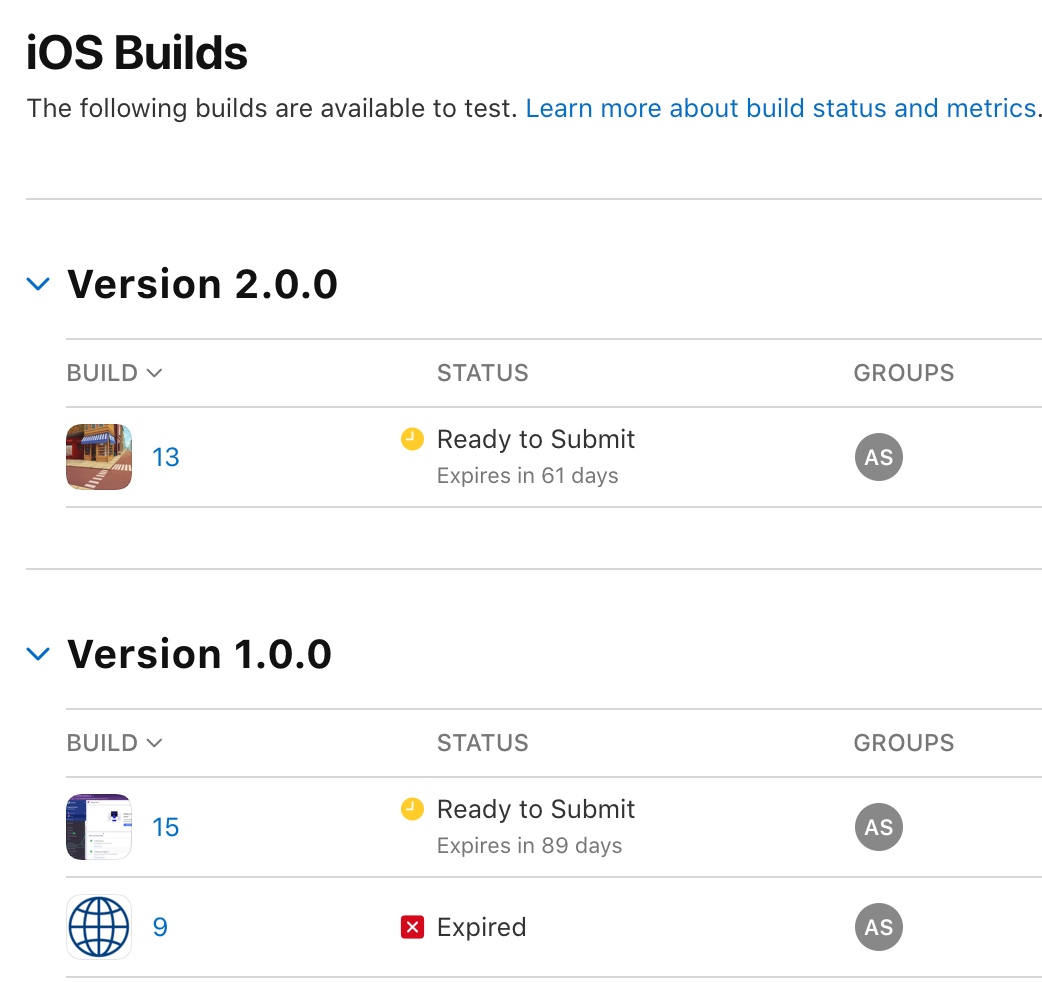
Open TestFlight on your iOS smartphone to test the app. Enjoy!